How to do light painting photography: the basics
A simple tutorial on how to do Light Painting
The light painting in theory is very simple to make, just have a camera that can adjust the shutter speed in manual mode (almost all), a tripod (tripod, let's call it what you like) and a light source (a LED flashlight, any luminous device, even the smartphone itself). In this simple guide I will explain how to set up the camera and how to create a light tube, which is actually the tool I use in 99.9999% of cases.
Come join our artistic community and unlock your full creative potential through the exciting world of light painting photography and visual arts. Subscribe to our newsletter for exclusive updates and insights, and let's embark on this incredible journey of exploration and creativity together!
Light Painting: the right camera
As mentioned above, the camera must have the ability to manually set the shutter speed, or rather the shutter speed. This is a feature common to almost all models and is essential because the shot will be taken in long exposure. What does long exposure mean? That instead of shooting instantly the camera will take a longer time, set by the light painter in this case, in which it will capture all the light present on the scene. Speaking of light painting if a light source "moves" during the shutter speed... its "trail" will stay "printed" in the resulting photo.
All clear? If you want a decent camera without spending a lot of money, I'll give you some models:
Light Painting: the tripod
Ok, you have a steady hand like a statue and the stabilization of your camera allows you crystal clear shots, but with long exposure and light painting these qualities will not be enough, unfortunately. You need a nice tripod and even in these cases if you don't want to spend a lot of money I recommend these models:
- Manfrotto Compact (read the review)
Light Painting with flashlights and acrylic tube
Let's move on to the light source, the real "brush" used by the light painter. I use tubes, self-made but you also find something ready to use. In this post I will limit myself to giving some indications on the basic tools without going into too much detail.
The tube is a transparent acrylic tube, not very heavy, one meter long (standard size, they are shorter but also longer). The diameter is fundamental, since they must adapt to the torch: minimum 2.8 cm and maximum 3.2 cm (internal diameter).
The torch must necessarily be a model powered by 18650 batteries in order to have sufficient and lasting brightness for a few hours. I remember that the torch must illuminate the inside of the tube as uniformly as possible, so let's leave the cheap torches for other light painting creations.
- LED flashlight with 18650 battery included
- Ready-made LED tube (for those in a hurry to experiment) YONGNUO YN360 Pro LED
We insert the torch in the tube at one end, the other we "plug" it with an aluminum foil in order to bounce the light inside and it's done. To spread the light even better inside the tube, just roll up a layer of parchment paper.
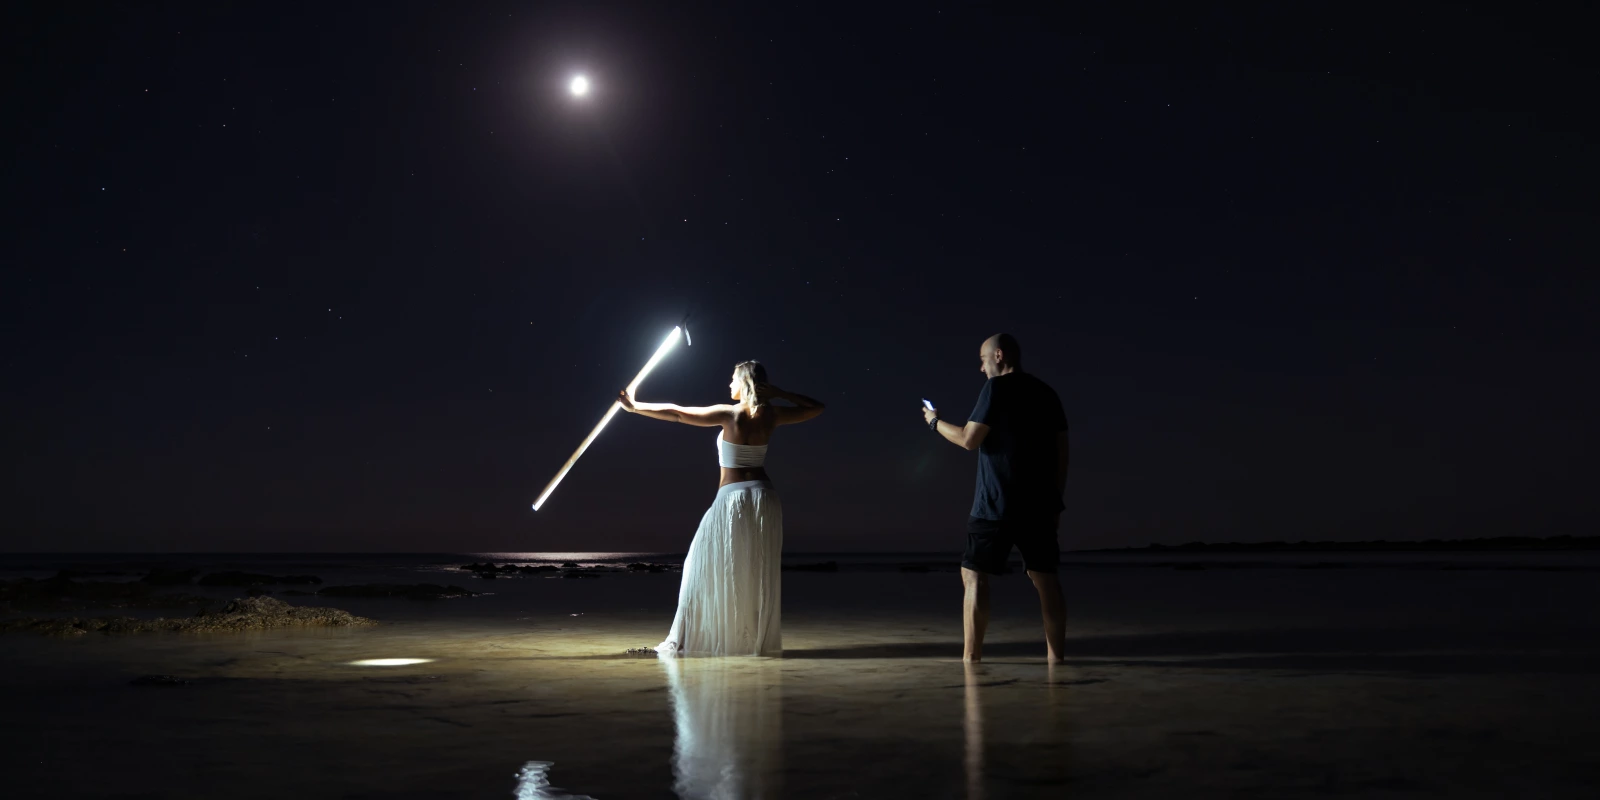
Timing and movements in Light Painting
Now that we have the right tools, we just have to practice. Set the shutter speed to 2-5 seconds so that you do not get anxious and start moving the tube, perhaps getting help from an assistant or if you do not turn with an entourage you can control the camera via the app on the your phone.
The rule of doing light painting, as far as I'm concerned, is less is more.
The simpler the figures, the better the composition.
Waving the tube for several seconds will lead to something that could be made by an airport runway attendant :)
Gear used for Light-Painting photography:
- Camera: Sony a7III
- Zoom lens: Sony 24-70 f2.8 GM
- Prime lens: Sony 35mm f2.8
- Wideangle: Samyang 14mm f2.8
- Tripod: Benro Carbon Fiber
- Flashlight: Nitecore P10i