
Light-Painting with the full moon behind us: composition, camera settings
If you're new to light-painting or photography in general, this blog post will give you all the information you need to get started. We'll go over camera settings, lighting, and composition tips to help you create beautiful light-painted images with the moon as your backdrop. So let's get started!
Composition - how to frame the shot with the full moon in the background right above the subject
The moon is constantly moving
I once heard an old saying that capturing a perfect shot of the moon is like trying to catch a fog in a bottle. Framing the shot with the full moon in the background right above your subject can be tricky since the moon is constantly moving and rarely stays put.
To ensure you get what you're looking for, begin scouting ahead of time and calculate when the full moon will appear in relation to where your subject will likely be when shooting. This way, you can plan around any objects that may obstruct that perfect view of a big bright silver moon in front of your subject.
Get creative and add an extra impact by considering light sources such as streetlights or colored lights used to illuminate your scene, which may shine upon your desired framing.
Settings - what camera settings to use for light painting
When it comes to light painting photography, having the right camera settings is essential to get an unforgettable and eye-catching shot. First and foremost, the aperture should be set at a low number - typically f/2.8 or lower - in order to give your photo enough depth of field to effectively capture the light-painted shape and to have the moon sharp enough to our needs.
A short time of exposure can return a very dark photo, so the circle shape (the fastest to create) could not be the best choice. I tried 3-4 seconds to have a good time and not blurry clouds and moon.
Increasing the ISO can help significantly boost exposure but it should be done cautiously, as too high a setting will cause grainy effects in the finished photos, specially when recovering dark areas. Prepare for a lot of hot pixels and digital noise.
On my live-stream on YouTube (check the link below) I had these settings: ISO 400 - f/4 - time 3-4 seconds at 45mm.

Be sure to monitor the exposure levels carefully, sometimes increasing or decreasing the power output of your light source can be necessary when shooting at different focal lengths. Lastly, invest in high-quality glass such as prime lenses if possible to take full advantage of available light when shooting night scenes.
Lighting - how to light-paint effectively with the full moon as your back light source
The backlight subject can be illuminated by the light tube. The subject will be a silhouette in most cases and it's not a problem
Taking advantage of the natural light of a full moon for lighting a painting session can be an exciting, creative challenge. You can use a strong backlight to illuminate your subject as a silhouette or use the light tube for more directional or subtle lighting.
By familiarizing yourself with the various properties of nocturnal light and playing around with different setups, you may find ways to make stunning works of art using only the pale silver light of nighttime beauty.
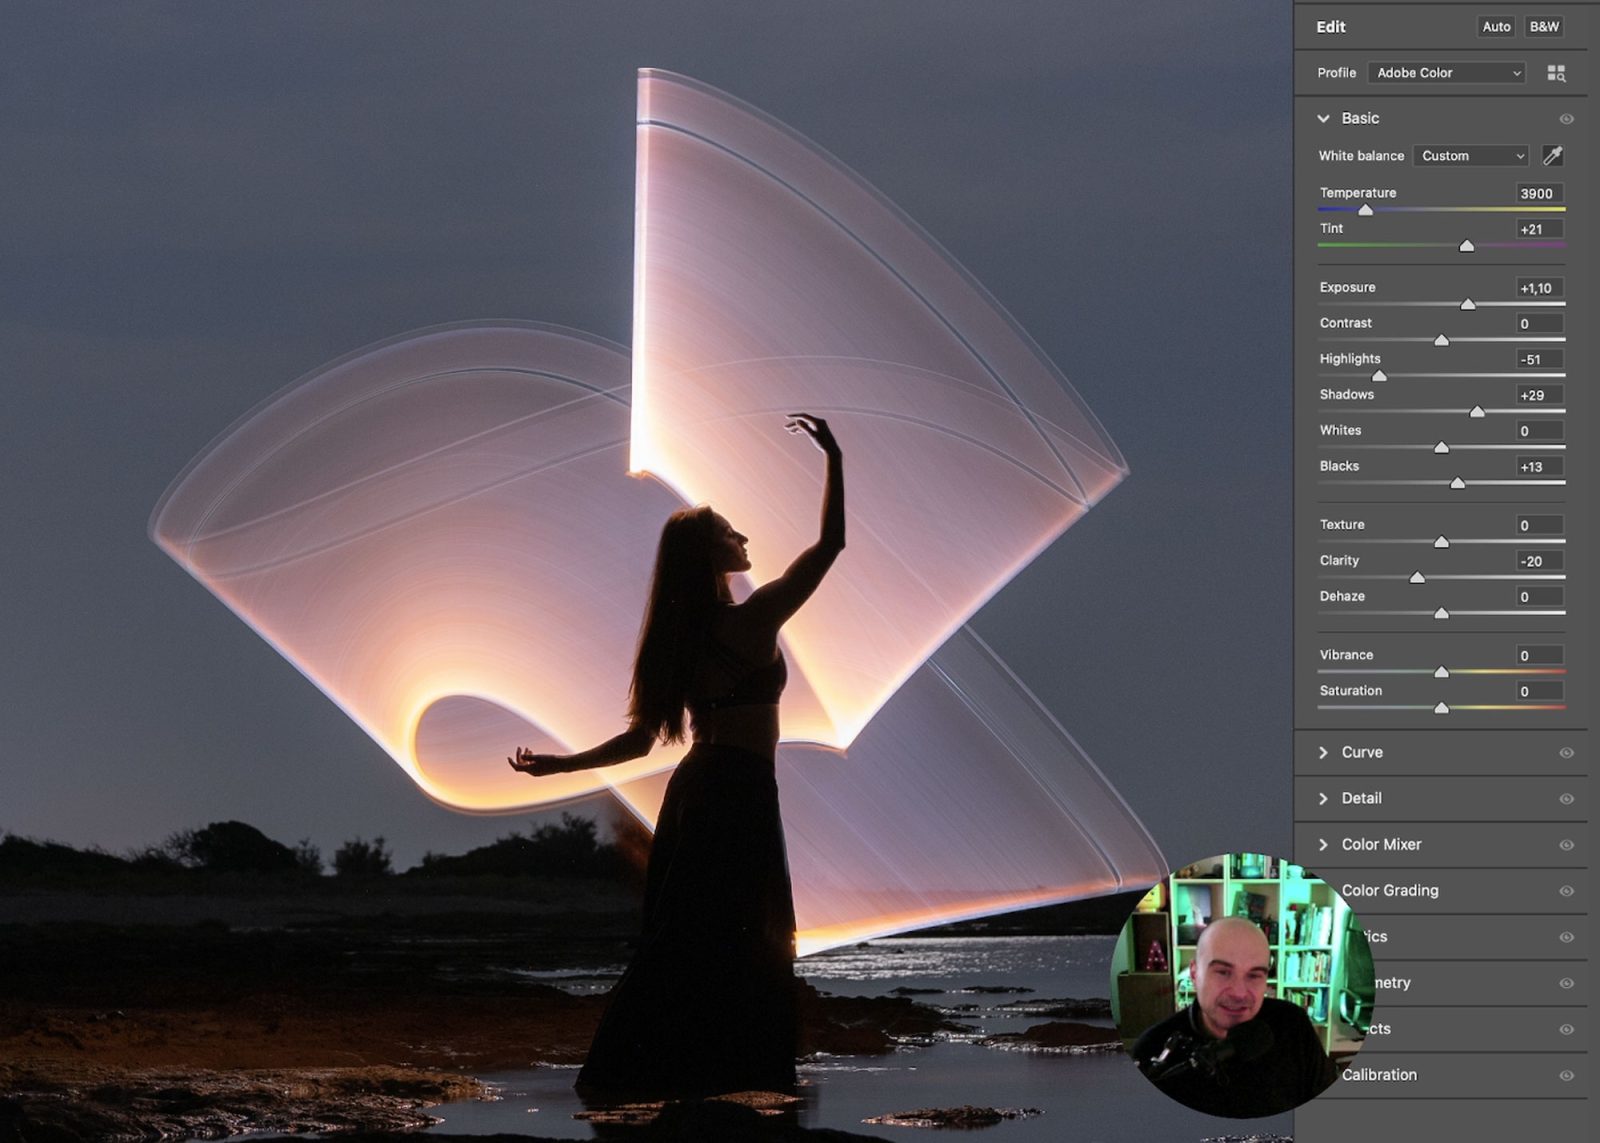
Live photo editing on YouTube
If you want to learn more about light painting or need help with your composition, settings, or lighting, don't hesitate to contact me. I would be happy to work with you and answer any questions that you may have.
I got deeper with raw editing live on Sublument's YouTube Channel. Take a look at the video, it's divided into chapters for quick jumps between them.
Contact me if you want to learn more about light-painting and if you want to work / collaborate with me.