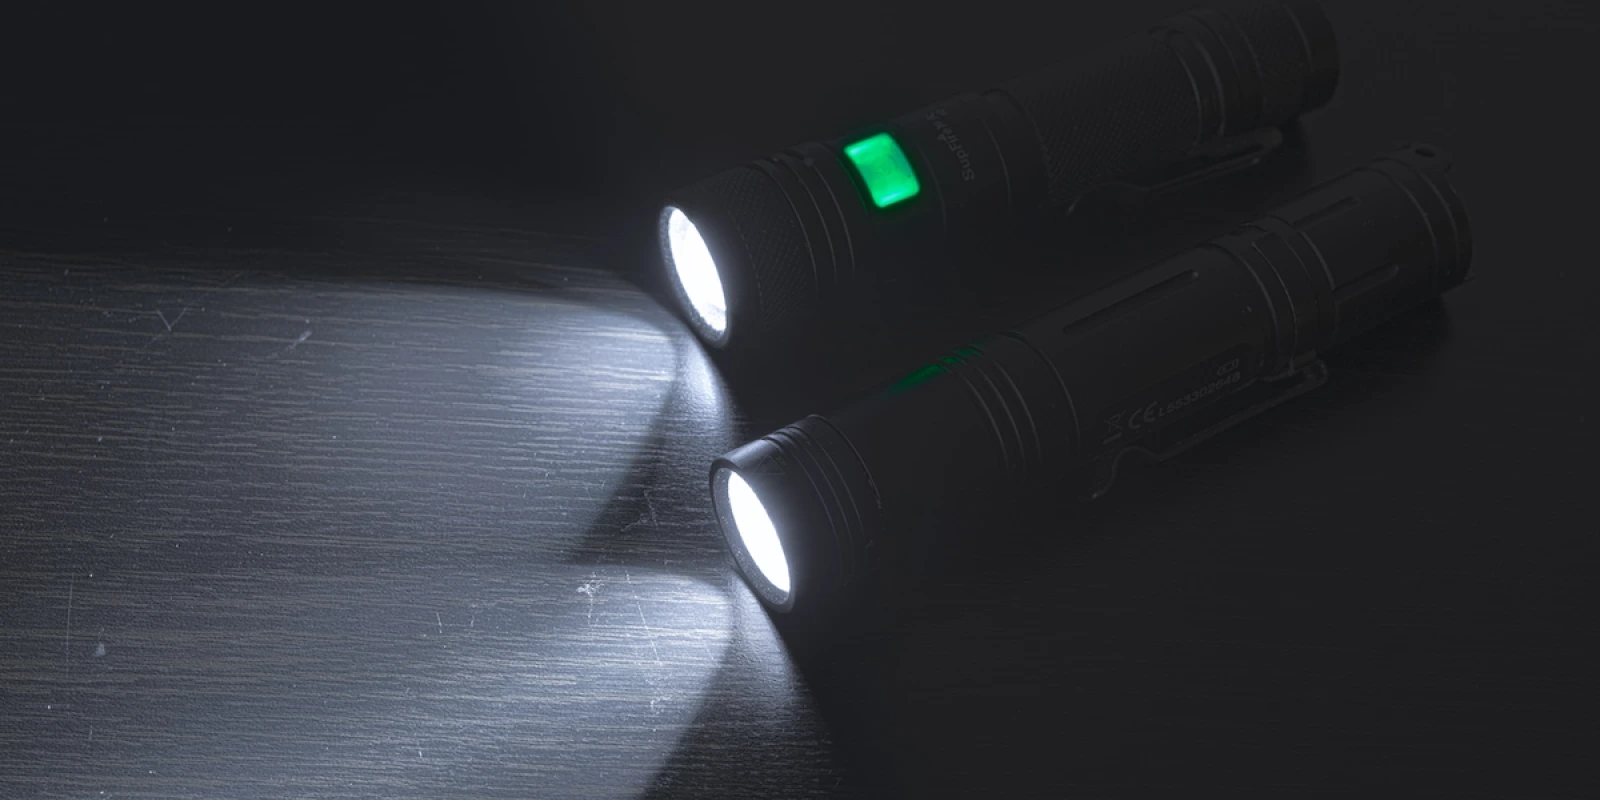
Two Cheap Flashlights for Light Painting Beginners
Quick Navigation
- What Makes a Great Light-Painting Flashlight?
- WUBEN L50: The Best Value Flashlight
- Supfire A2: Versatile and Affordable
- Final Thoughts
I wrote this guide back in 2018, and yes, the specific flashlight models I mention might be harder to find today or have been updated since then. But here's what I want you to know: the principles of what makes a good light-painting flashlight remain absolutely unchanged. The technical requirements I outline in this guide are timeless, and you'll use them as your template when shopping for gear today, whether you're looking in 2026 or beyond.
I still use both of these torches in my work. They've proven themselves over years of light-painting sessions, and the fundamental characteristics that make them excellent then make them excellent now.
Over the years I've tested countless flashlights. After acquiring these two models, I added a Nitecore to my kit to have a higher-performing option and establish a meaningful comparison with these more affordable alternatives. What I discovered was surprising: you don't need to spend a fortune to get excellent results.
Let me share what I learned.
What Makes a Great Light-Painting Flashlight?
When I'm evaluating a flashlight for light-painting work, I focus on four specific characteristics that make the difference between a tool you'll use and one that sits in a drawer.
Beam uniformity and distribution The light beam must be uniform and not too wide. Your goal is to "fill" the tube evenly without creating the dark void inside, which is the most common beginner mistake. I've watched countless newcomers struggle with this exact issue. A well-designed beam prevents those bright ends and dark center problem.
Brightness output We measure this in lumens (lm). You need at least 1000 lumens to work effectively in most light-painting scenarios, especially after sunset. I'll tell you something honest: manufacturers often inflate these numbers. What matters isn't the spec sheet, it's how the torch performs in real shooting conditions. A practical test always reveals the truth.
Battery technology and duration Flashlights with 18650 batteries are your best choice. Some models include the battery, others don't. I recommend investing in a quality set of batteries so you can shoot for hours without interruption. These batteries give you at least an hour of maximum power output, usually more.
Head diameter and fit The head should be 26mm (1 inch) so it fits perfectly into standard T9 light tubes. This is industry convention, not an absolute rule, but it gives you access to the widest range of tools and keeps everything manageable weight-wise.
WUBEN L50: The Best Value Flashlight
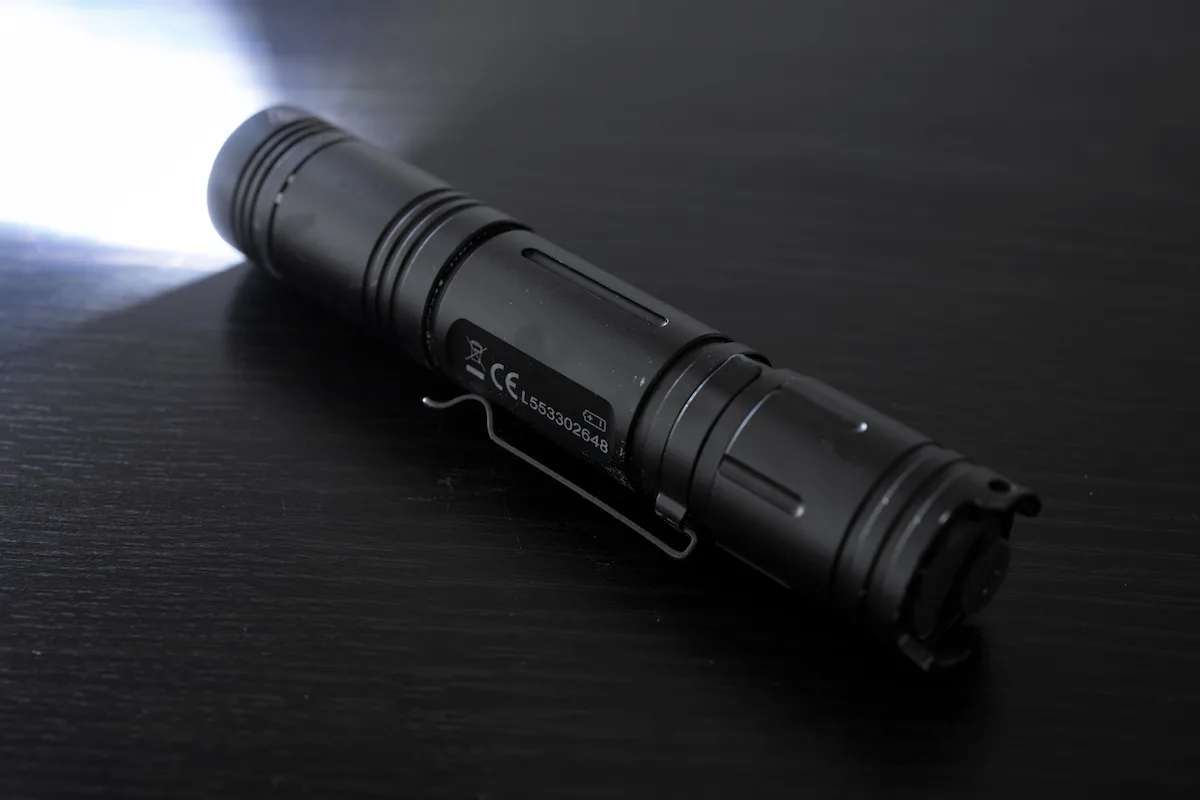
WUBEN L50 Features and Performance
In my opinion, the WUBEN L50 offers the best price-to-quality ratio in this category. And that's not a polite way of saying it's excellent despite its low cost. It's genuinely well-engineered.
Built from metal with waterproof sealing, it feels durable and robust in your hand. The brightness is real, not marketing fiction. The flashlight features 4 brightness modes plus an unnecessary SOS mode.
Mode 1 is rated at 1200 lumens (though I suspect it's slightly lower in practice). Still, this brightness level lets you shoot perfect light-painting shots just minutes after sunset. Mode 4 provides a very dim output that allows you to balance tube brightness in extremely low light conditions, like new moon nights. This flexibility is genuinely useful.
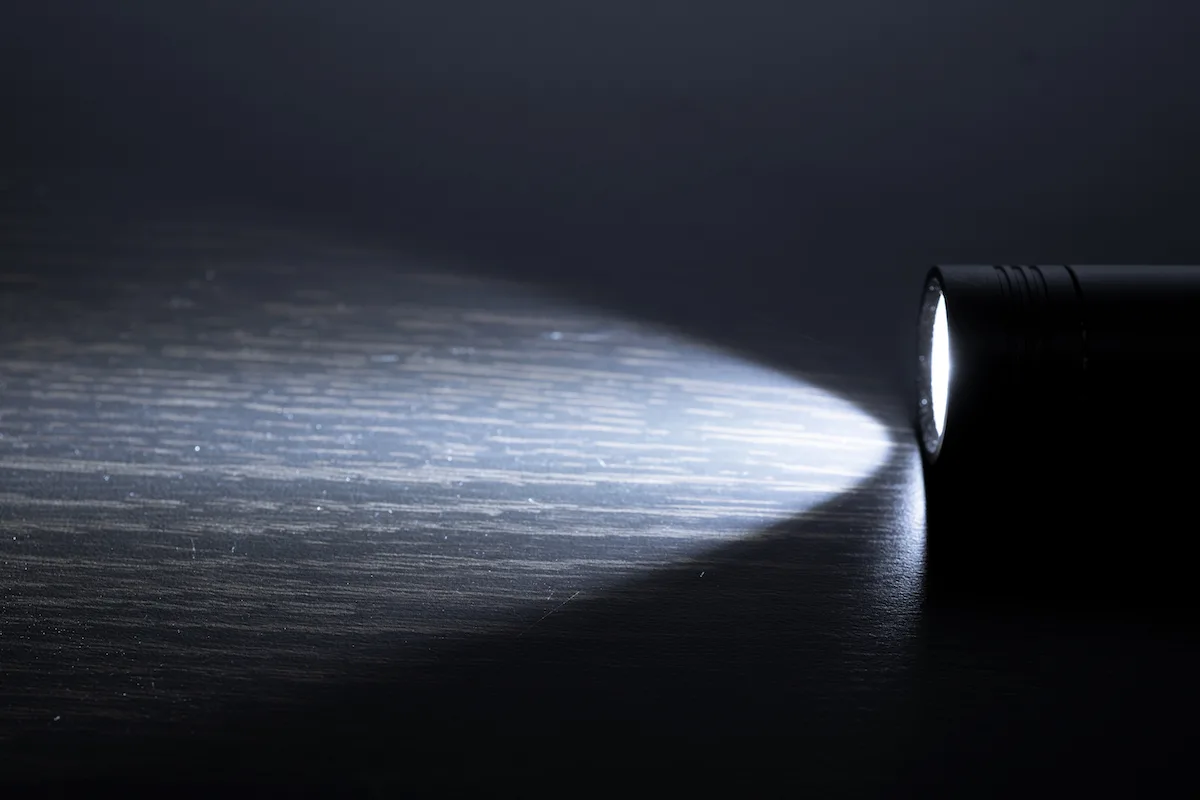
The beam design impressed me immediately. When you point it at a wall or uniform surface, you see the engineering: two distinct cones. The inner cone is narrow and intensely bright, while the outer cone spreads wide but at roughly 25% of the inner brightness. This dual-cone design solves the classic beginner problem. You get uniform light distribution inside your tube and avoid those blown-out bright ends with a dark center.
I've used this torch in hundreds of sessions and never experienced a failure. It takes the punishment of regular use.
Supfire A2: Versatile and Affordable
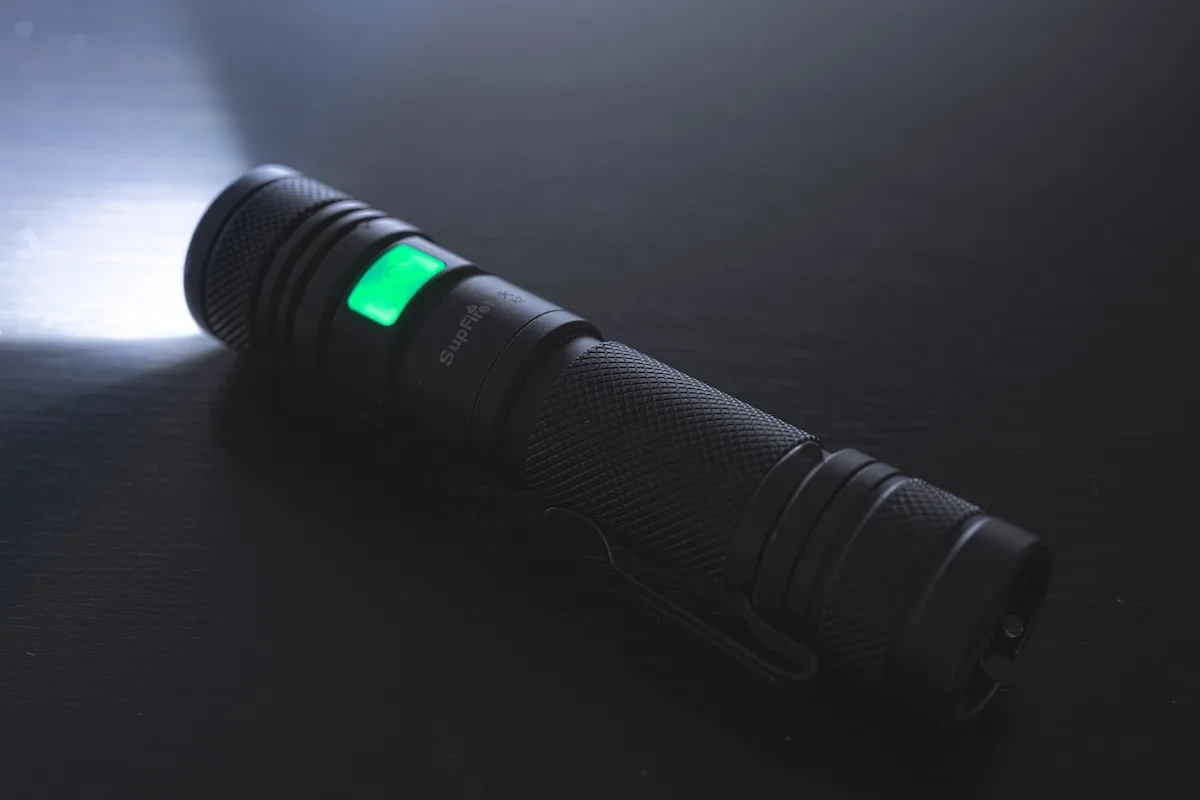
Supfire A2 Features and Performance
I purchased the Supfire A2 in 2018, and I notice updated versions are available now that apparently address some minor issues from the original model.
The Supfire A2 brings two distinctive features that set it apart from other torches in my collection.
Adjustable zoom head The head is zoomable, allowing you to narrow or widen the light beam. This design flexibility is exceptional for light-painting work. When you zoom tight, you get extremely uniform illumination inside your tube, which solves beam distribution challenges elegantly.
Head diameter consideration The head measures 28mm (1.1 inches), not the standard 26mm. This means you need to carefully match your light tubes to this slightly wider diameter. The good news: acrylic and PVC tubes have enough flexibility that you can adapt them if they're not too thick.
Overall performance Despite being rated at "only" 900 lumens, the Supfire A2 performs significantly brighter than that number suggests. It's waterproof and robust when the head isn't extended. I use it constantly for light-painting work with and without tubes, inserting it into various adapters and tools. That versatility is a huge advantage.
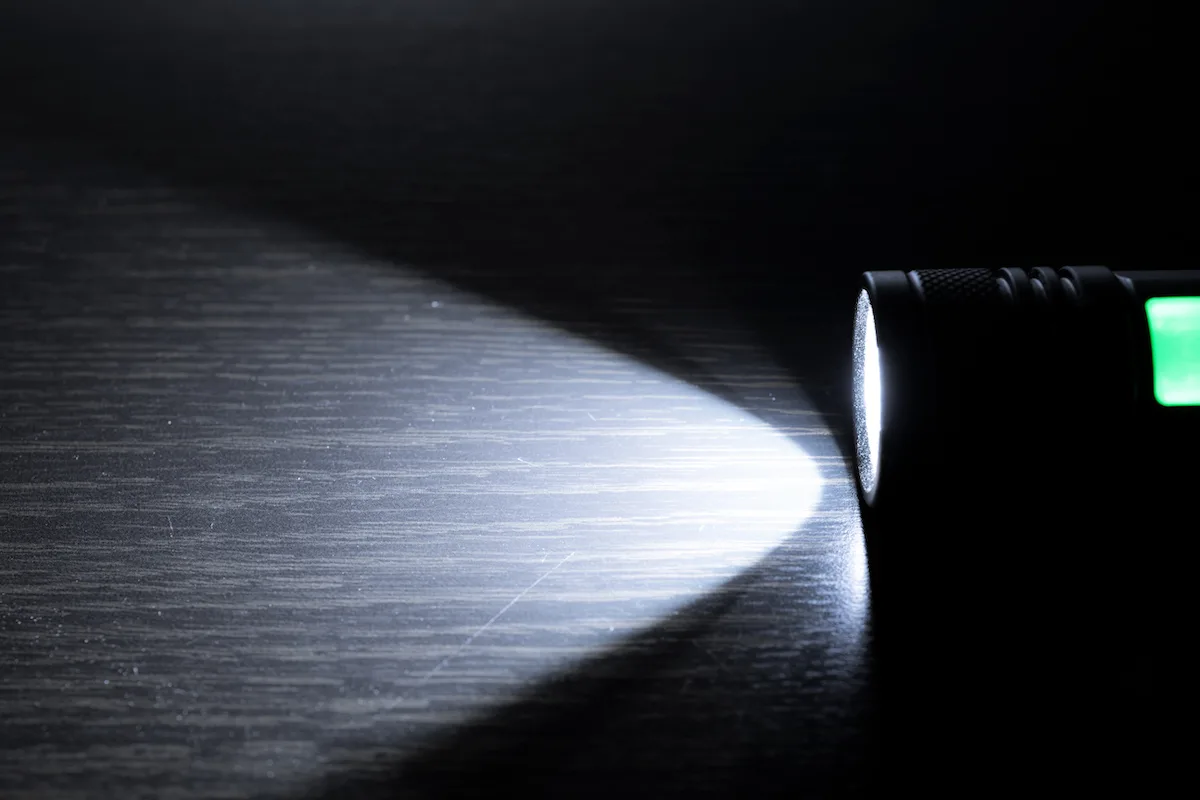
One visual issue The green on/off button remains illuminated when the torch is active. In long-exposure light-painting shots, this can create unwanted green light trails if you're not careful with your positioning or if you accidentally catch the button in your shot. It's a minor nuisance but worth knowing about.
Final Thoughts
These are genuinely affordable torches, especially when you compare them to mid-range and premium brands where prices double or triple. Yet they deliver professional results.
I still reach for both of these regularly. They've become trusted tools in my light-painting kit precisely because they solve the real problems you face when doing this work.
Want to master the complete light-painting technique? Check out my guide on how to hide yourself in a light-painting photo shoot. It covers the positioning and concealment strategies that keep you invisible while your light tells the story.
What's your experience? Do you use either of these models? I'd love to hear about the flashlights you prefer and what's worked in your own shoots.
Join the Sublument Community
Ready to push your light-painting work forward and stay updated on new techniques, gear guides, and creative inspiration?
Subscribe to My Newsletter — Get exclusive light-painting tips, photography insights, and early access to new content delivered directly to your inbox.
Get in Touch — Have questions about light-painting technique or gear recommendations? I'd love to hear from you directly.