
Easy light-painting Tips: Your First Shapes & Drawings
Part of a multi-page article: Light-painting for Complete Beginners: Your First Night Out with Light
Article Sections
- Essential Gear for Your First light-painting Session (Beginner's Kit)
- Safe Location & Night Photography Safety Tips for Beginners
- Camera Settings for Beginner light-painting: Long Exposure
- Easy light-painting Tips: Your First Shapes & Drawings
Easy light-painting Tips: Your First Shapes and Drawings
This is it: the moment to create! You've got your gear, found a safe spot, and set your camera settings for a long exposure. Now for the exciting part... creating your first light-paintings! Here are some easy light-painting tips for your very first attempts:
Let There Be Light! Making Your First Shapes
- Start Simple: Lines and Circles: Don't try to draw complex images initially. Stand in front of the camera (you'll likely be invisible if you don't shine the light on yourself and keep moving), start your camera's long exposure, turn on your light, and simply draw a straight line or a circle in the air. Move slowly and deliberately. When the exposure finishes, check the result!
- Writing a simple word: This is a classic beginner exercise. Practice writing a short work (love?) in the air, remembering that the camera sees it in reverse! Write slowly and smoothly.
- Simple Shapes: Try a heart, a star, or a square. Focus on making smooth, banalnced and continuous movements.
- Experiment with Light Movement: How does moving the light faster or slower change the line? What happens if you hold the light still for a second? What happens if you twirl it?
- Body as a Shield: If you don't want to appear in the shot, avoid shining the light on yourself, and keep moving constantly while the shutter is open. If you stand still, even in the dark, you might appear as a faint ghost-like figure!
Remember, you have the duration of your shutter speed to complete your painting. If you set a 10-second exposure, you have 10 seconds to draw. If you finish early, you can simply turn off the light and wait for the exposure to end.
Embracing the Journey: Practice and Play
Your first light-paintings probably won't be perfect masterpieces, and that is absolutely okay! The goal is to understand the process, see how the light interacts with the camera, and most importantly, have fun.
Light-painting is a journey of experimentation. Each attempt teaches you something new about timing, movement, light intensity, and composition. Don't be discouraged by shots that don't turn out as planned. Often, the unexpected results are the most exciting!
Share your first attempts! Connect with other photographers online. My profile @Sublument constantly receives messages from beginners and amateurs that want some feedback. The worldwide light-painting community is often very supportive and eager to see others explore the art form.
Your Night Canvas Awaits
Stepping out into the night with your camera and a simple light source is like being given a magical key to a hidden world of creativity. Forget complex techniques for now. Focus on these basic night photography basics and easy light-painting tips. Get comfortable with your gear, find a safe spot, and just start playing with light.
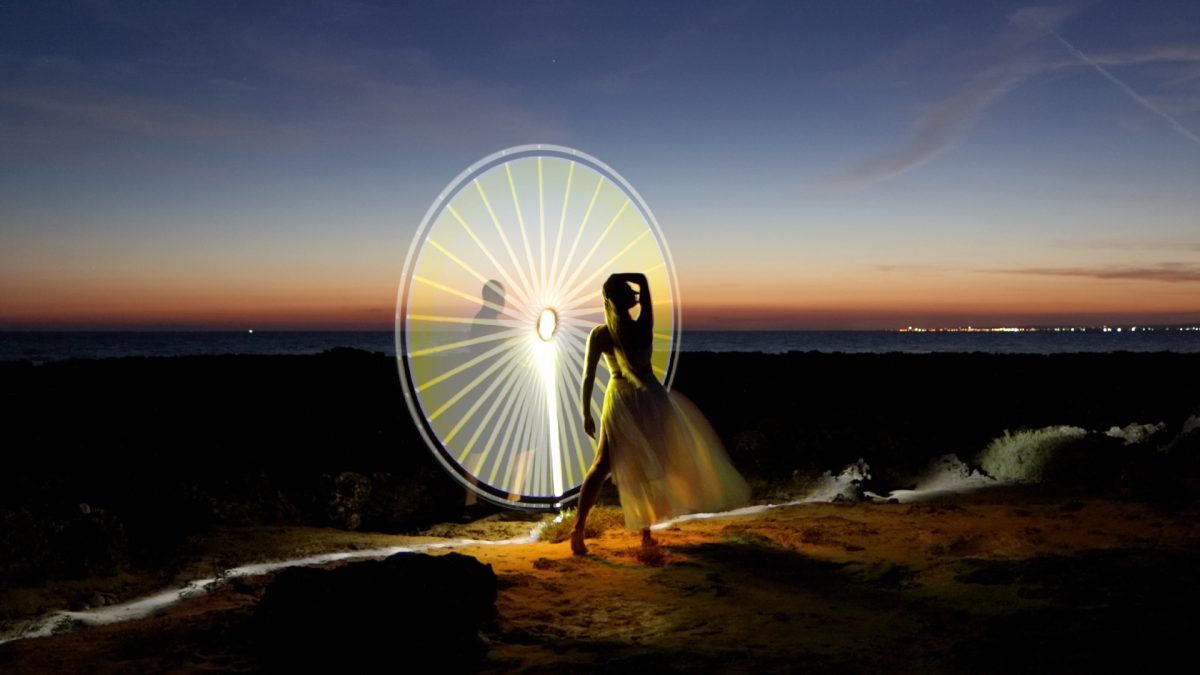
The potential for expression is immense. You can fill the frame with vibrant colours, create abstract shapes that defy reality, or add ethereal glows to illuminate a natural scene. As you grow, you might start incorporating figures, more complex tools, or integrate the light-painting more seamlessly with the landscape, much like I strive for in my work by the sea.
But all of that comes later. For now, embrace the simplicity, the wonder, and the sheer joy of making light appear where there was only darkness.
Your night canvas is waiting. Go make some magic!
— Andrea