Essential Gear for Your First light-painting Session (Beginner's Kit)
Part of a multi-page article: Light-painting for Complete Beginners: Your First Night Out with Light
Article Sections
- Essential Gear for Your First light-painting Session (Beginner's Kit)
- Choosing a safe location and night photography safety tips
- Camera settings for beginner light-painting and long exposure
- Easy light-painting shape tips to start your journey
Essential Gear for Your First light-painting Session (Beginner's Kit)
Now that you understand the magic of drawing with light we must address the practicalities of what you actually need to get started. Often beginners assume that light-painting requires a ton of expensive and specialised gear. While the possibilities expand with more advanced tools down the road you can experience the magic of long exposure with surprisingly little. Think of this as gathering a minimal night photography basics kit.
Table of Contents
A Camera
You need a camera that allows manual control and specifically the ability to set a long exposure. Keeping the shutter open for several seconds captures the light trails.
- Mirrorless Cameras: Most offer Shutter Priority (S mode) or full Manual (M mode). Look for a Bulb mode too which keeps the shutter open as long as you hold the button. By 2018 I started using the Sony a7III and it remained my primary tool for nocturnal human portraits (Example: shooting intricate light costumes outdoors).
- Modern Smartphones: Many recent smartphones have Pro modes in their native camera apps that control shutter speed. Apps like Slow Shutter Cam for iOS offer excellent alternatives if your phone does not have those settings built-in. Do not underestimate your phone potential.
A Tripod (or a Stable Surface)
This item is non-negotiable for night photography. Since your camera shutter will be open for a long time any slight movement translates into a blurry mess unless that is your intended artistic effect. A tripod keeps your camera perfectly still.
- Alternatives: If you do not have a tripod yet find a stable rock or wall. Anything solid works as long as the camera does not wobble during the exposure. I currently rely on this model by Ulanzi & Coman regarding my demanding contextual outdoor shots and my backup choice remains this one from Beschoi.
A Light Source
This is your brush for the night.
- Simple LED Flashlight: The most common versatile tool available. A small inexpensive torch is absolutely perfect to start. Look for one with a powerful LED and a narrow beam.
- Your Smartphone Screen: Set your phone display to white, crank the brightness up to 100% and you instantly have a diffused light source.
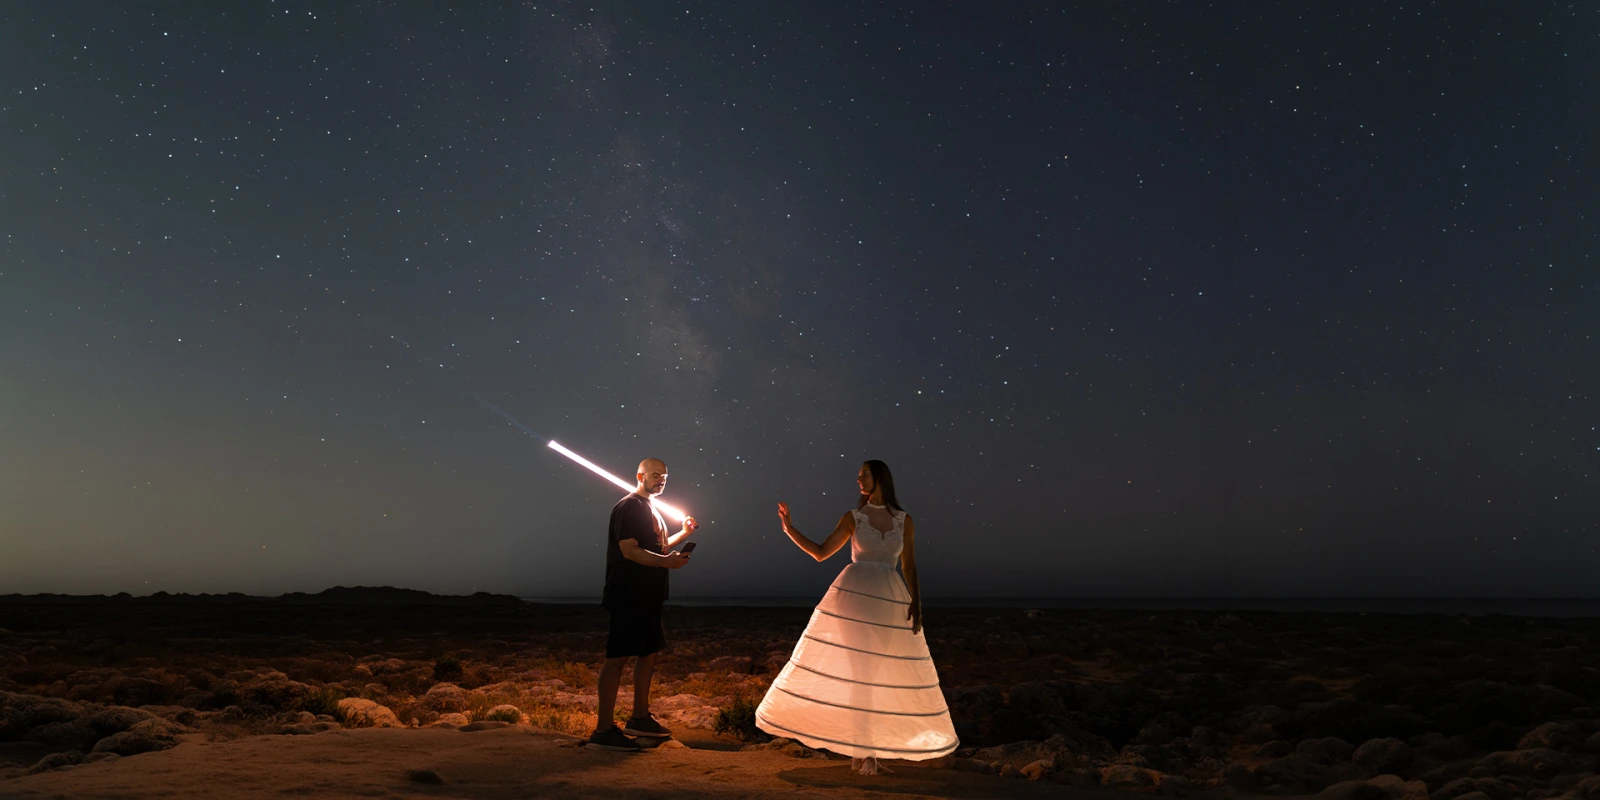
- Light Tubes: You can make your own or buy them online but they must pair with a tactical flashlight. I personally use these light-painting tubes to shape light around the human figure.
- Fire: Steel wool or fire props offer intense organic results provided you operate in a totally safe environment (Statistic: 85% of beginner fire spinning accidents occur due to lack of spatial awareness). Learn more in this guide to Light-painting with burning steel wool.
Camera, stable support and a simple light. You already have the foundation to create.