Camera settings for beginner light-painting and long exposure
Part of a multi-page article: Light-painting for Complete Beginners: Your First Night Out with Light
Article Sections
- Essential Gear for Your First light-painting Session (Beginner's Kit)
- Choosing a safe location and night photography safety tips
- Camera settings for beginner light-painting and long exposure
- Easy light-painting shape tips to start your journey
You have your basic gear and a safe location configured. Now comes the technical heart of the process which revolves entirely around your camera settings. Getting your equipment ready is the crucial step that makes everything else work. The key concept to grasp is the long exposure.
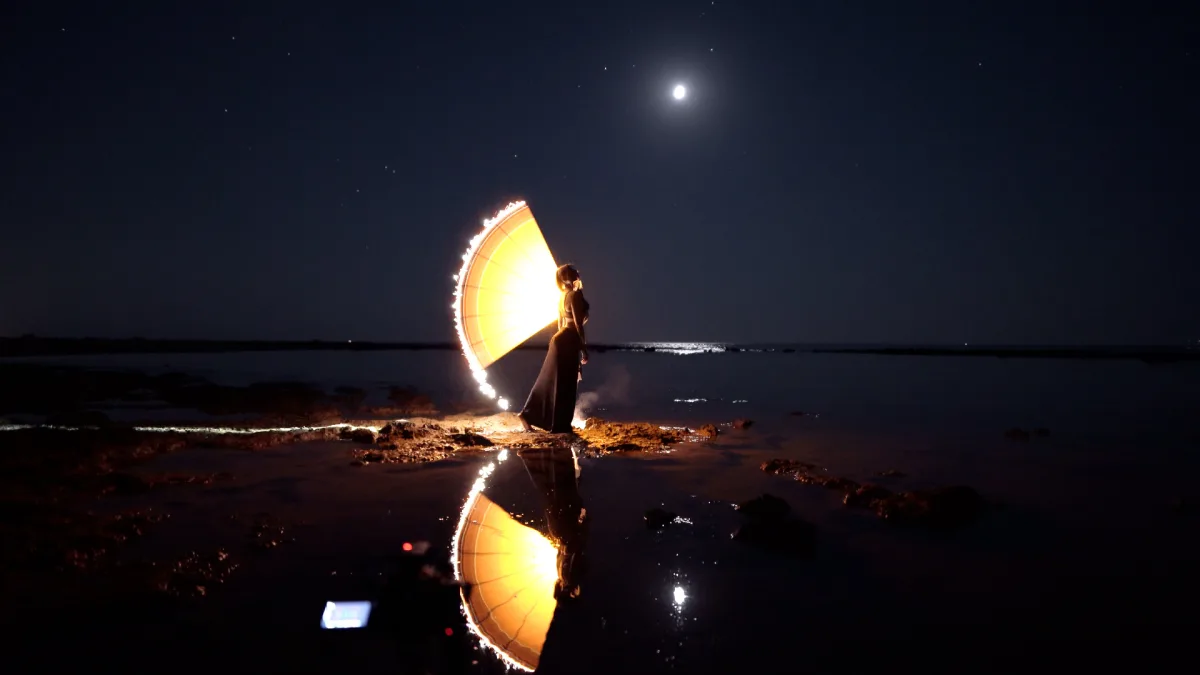
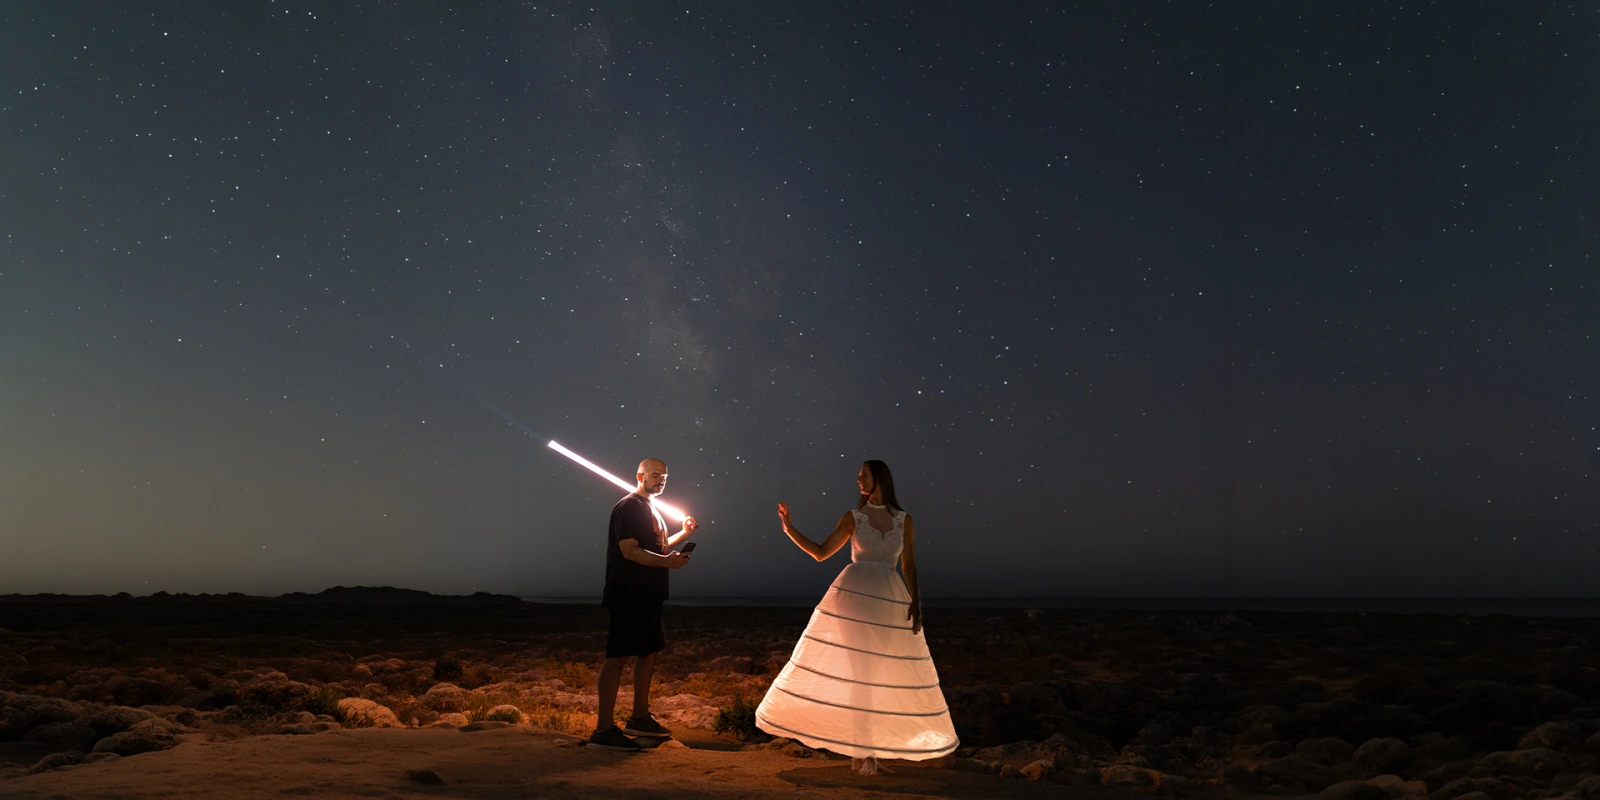
Imagine that your camera shutter is a tiny door opening to let light hit the sensor. Normally this door opens and closes in fractions of a second. For our purposes we keep that door open for a much longer time. During those seconds any stationary light registers as a faint glow while any moving light source produces a continuous magical trail.
The manual control
Here are the primary settings to dial in before you start waving tools around in the dark:
- Set to manual (M) mode: This grants you total authority over the exposure triangle. I strongly advise you to learn M mode and use it forever in your creative workflow.
- Set a long shutter speed: Start around 6 or 8 seconds. This gives you enough time to trace a simple shape. The longer the exposure the more time you have to paint but your human subject might incur micro-movements that ruin the sharpness of the portrait.
- Tweak your ISO: Start with a relatively high ISO like 400 or 640 to make the sensor highly sensitive to the light trails (Research: modern mirrorless sensors perform exceptionally well and retain deep color data when the ISO is kept just below its secondary gain threshold typically around ISO 800).
Focus and depth
- Select an aperture: For your first experiments setting your aperture around f/2.8 or f/4 is an optimal starting point. Narrower apertures let in less light but substantially increase the depth of field keeping both your light trails and the background crisp.
- Lock your manual focus (MF): In total darkness autofocus systems fail miserably. Switch your lens to manual focus. I usually shine a bright flashlight on my human subject to grab focus perfectly before locking it in place and turning the flashlight off (Example: illuminating my subject face with a headlamp to check complete sharpness on the digital display before starting the actual exposure).
It might sound intimidating but once you lock these fundamental parameters you will mainly just adjust the shutter speed based on the complexity of the light trail you plan to draw.